Oct 22

I just found out that my dear friend, Ember, has been diagnosed with stage 4 brain cancer. She's already undergone surgery and will be starting radiation and chemo to delay further spread, but this type of cancer is incurable. I met Ember when I was 17, and we've known each…

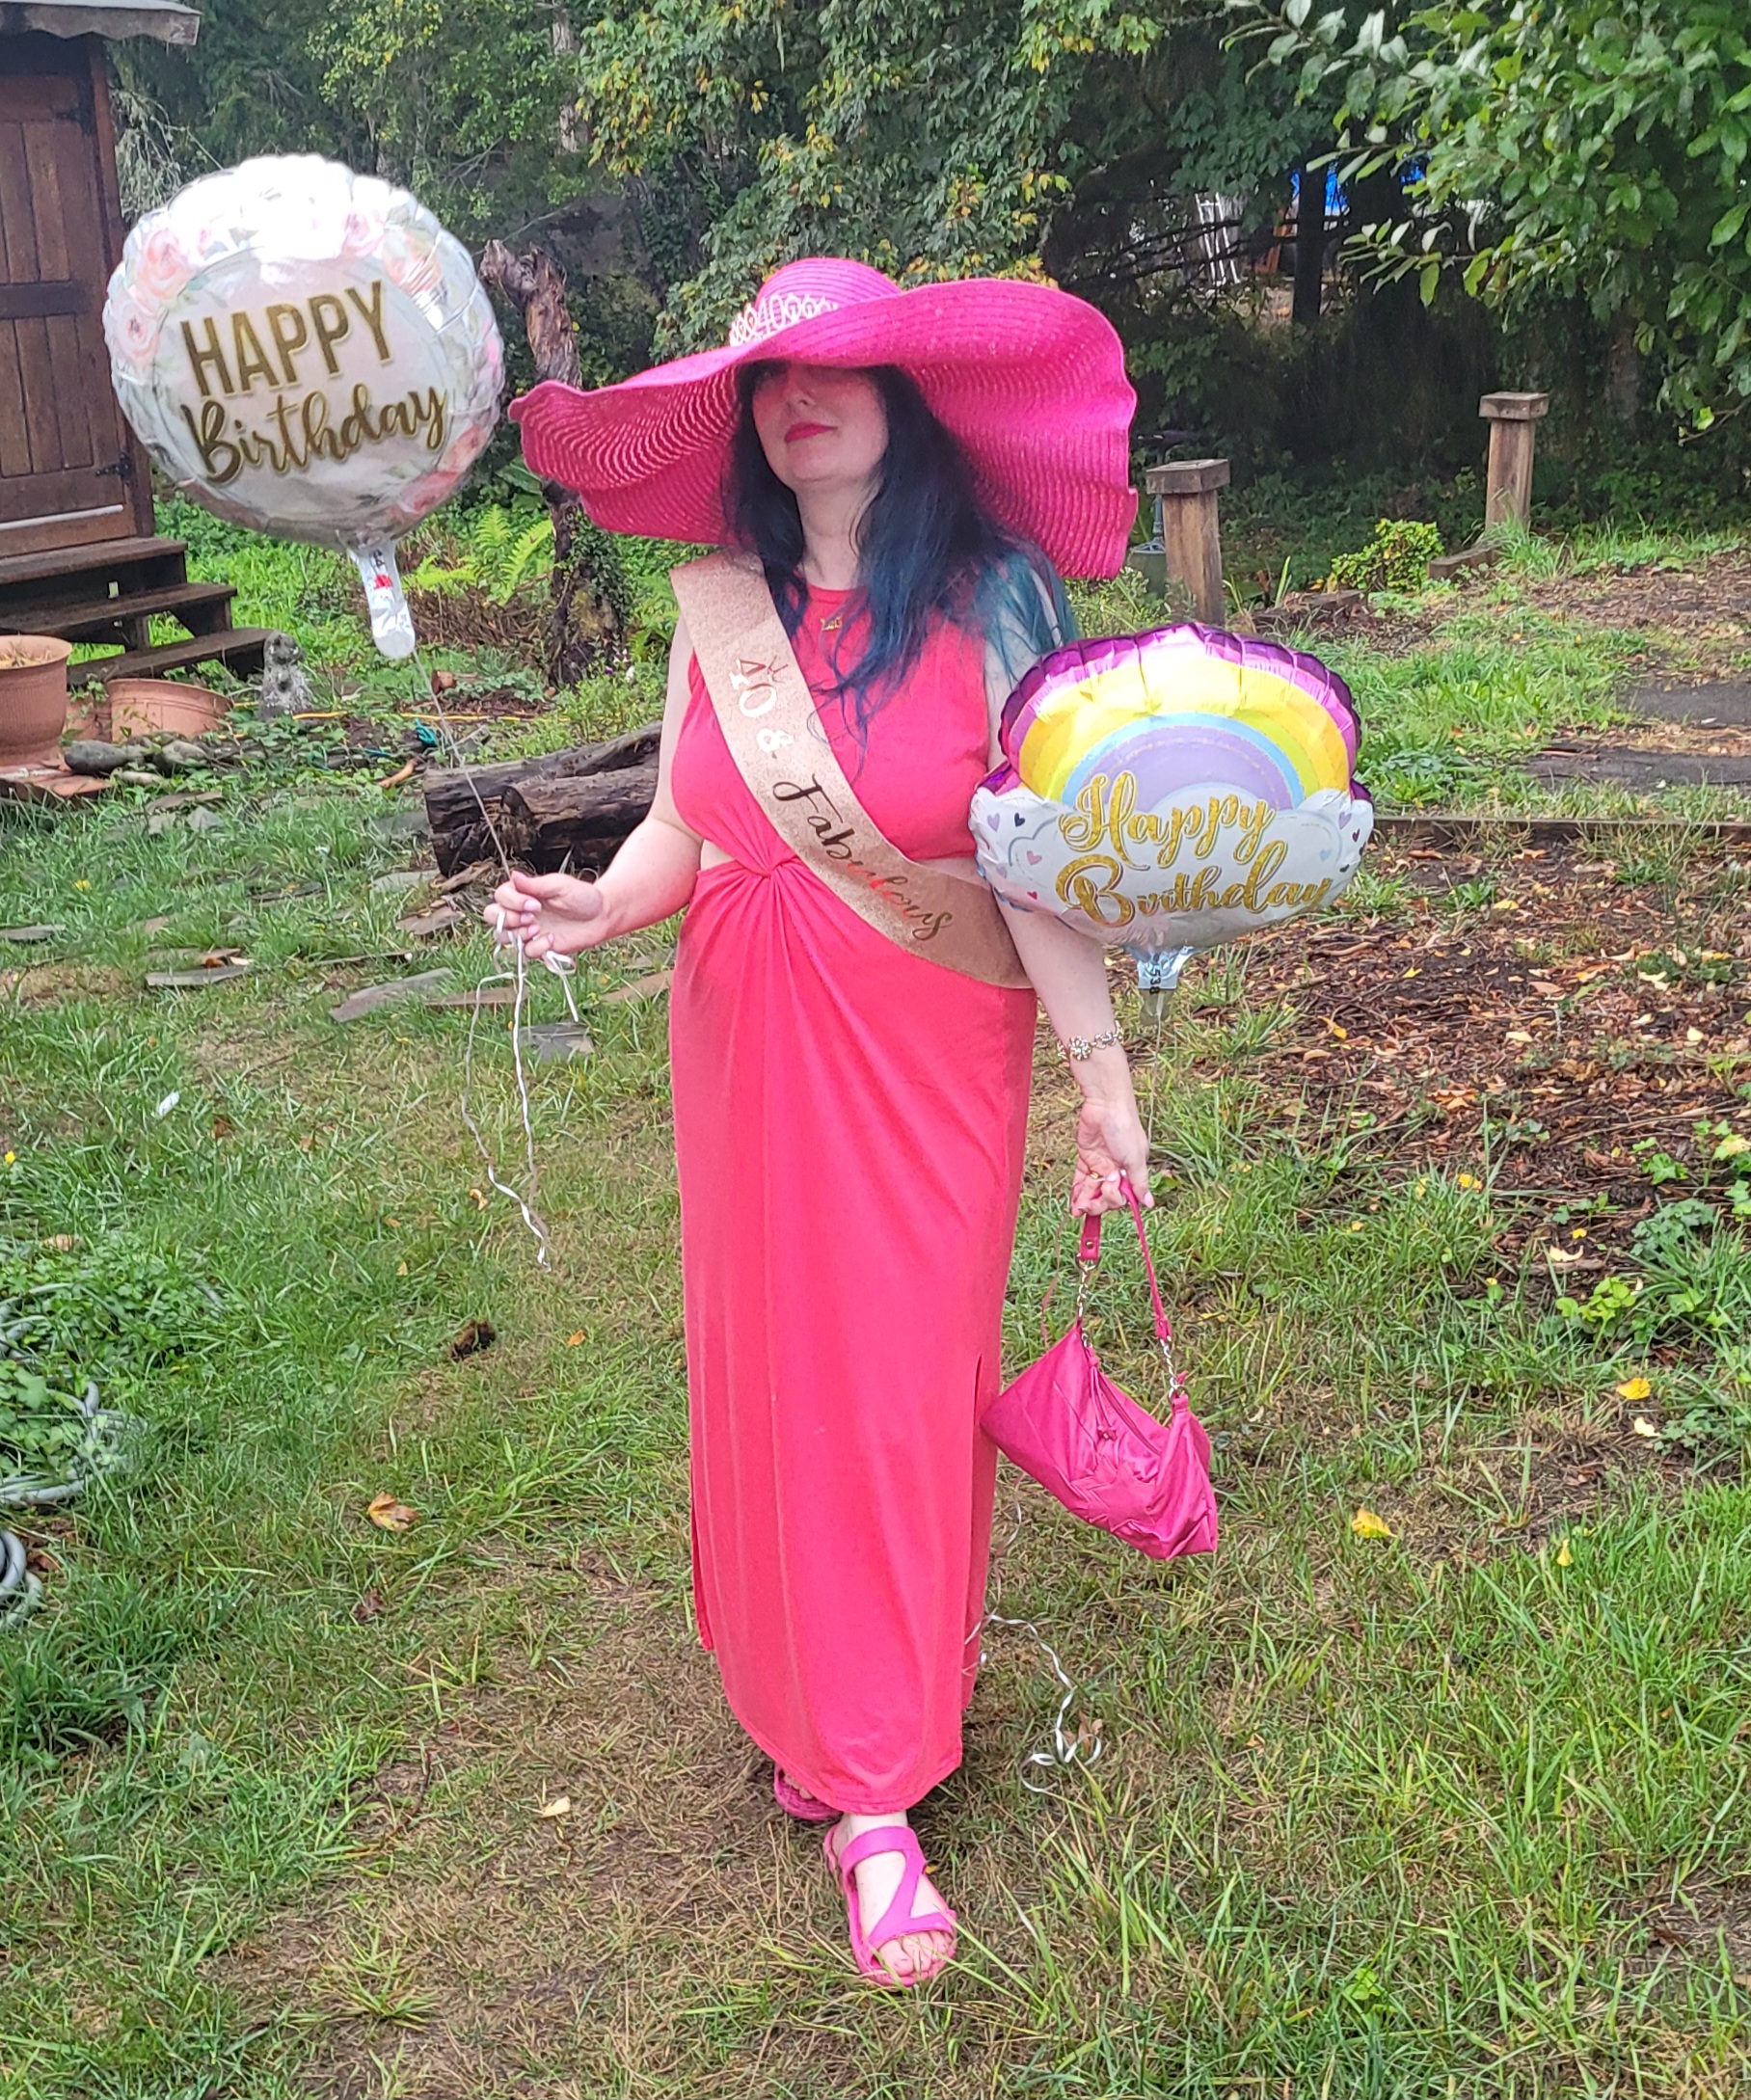
I turned 40 last week! I had a party at a local park with family and friends to celebrate, and it was an amazing time. I wore an all-pink outfit topped off with a 40th birthday tiara and sash that I found on Amazon for $4.49. To top off the…
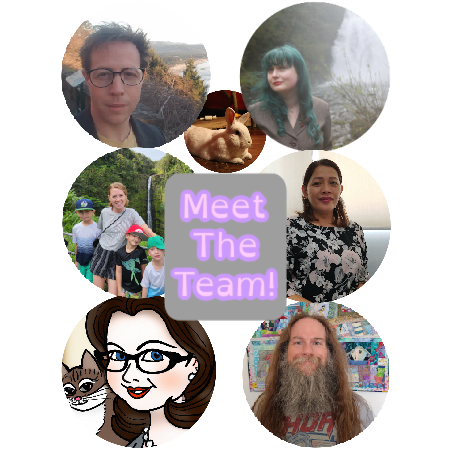
You may have noticed a new look on the site, as well as some new faces! I'm thrilled to share what I have been working on behind the scenes: First, I have given Contest Corner a total makeover with a site re-design and new suite of graphics. One of these…

I'm thrilled to announce that our giveaway submission form is back, baby! Click here to check out the new landing page. Thank you so much for your patience while I sorted this out - the reason the old form stopped working was because the plugin I was using discontinued the…
Just saw the Northern Lights for the first time and caught a shooting star at the same time!! A post shared by Beeb Ashcroft (@beebashcroft) on Mar 2, 2018 at 2:28pm PST Jai and I are back in the USA after our Euro Honeymoon! It was an amazing trip. We…

This is a sponsored post. All opinions are mine. Years ago, I wrote a post called "Wigging Out" about my collection of wigs. I bought them over a decade ago (!) when I was working part-time in retail management to save up money that I put towards launching this business.…