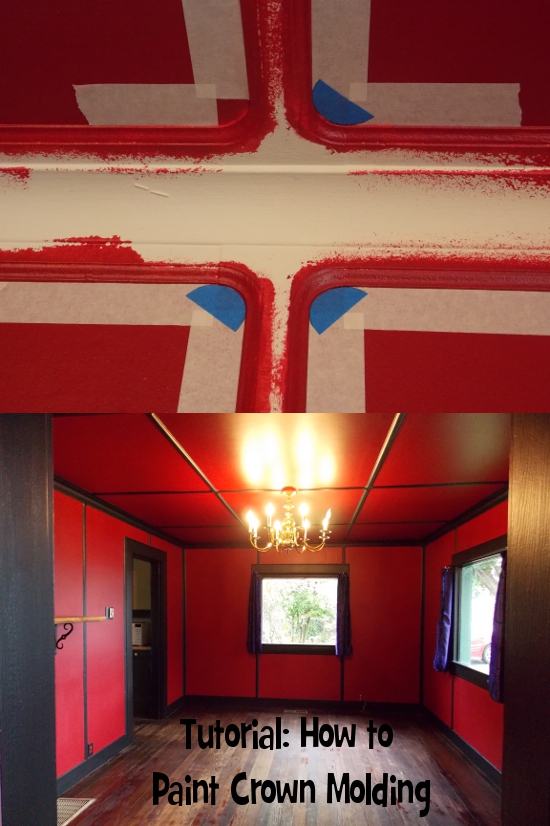
As I mentioned in my last post featuring our Glidden living room makeover, this room was time-intensive due to the elaborate crown molding and batten trim in the room. I wanted to put together a separate post detailing how we achieved this effect – we received complimentary paint for the project, but this post wasn’t required by the client; I simply thought this tutorial could be useful to anyone else faced with how to paint crown molding in their own home. I did include my Amazon Associates link for the special tape we used below, so if anyone decided to purchase it for their own project, I will put the 10 cents earned towards my next renovation project. 😉
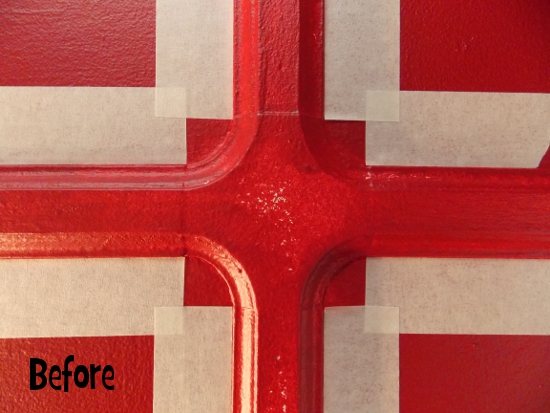
This house was built in 1929, and the living room features some of the most elaborate molding I’ve seen. Previously, the walls and crown molding were all painted one solid color:
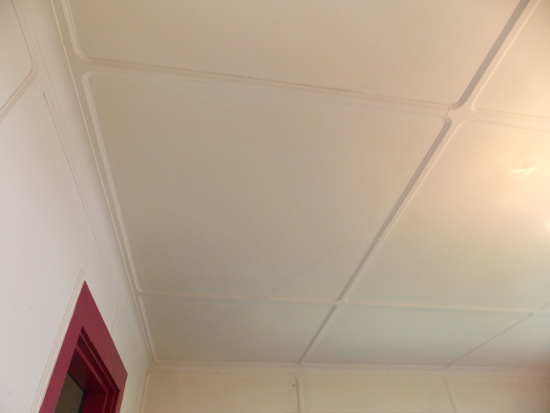
For years, I’ve been thinking how impressive the room would look if I painted the trim a contrasting color from the walls. Inspired by the ceiling, I thought about various “Checkerboard” style paint jobs, eventually deciding that I’d like to do the walls deep red and the crown molding black. This was a bold choice, and one that would either look fantastic if done right or terrible if done wrong.
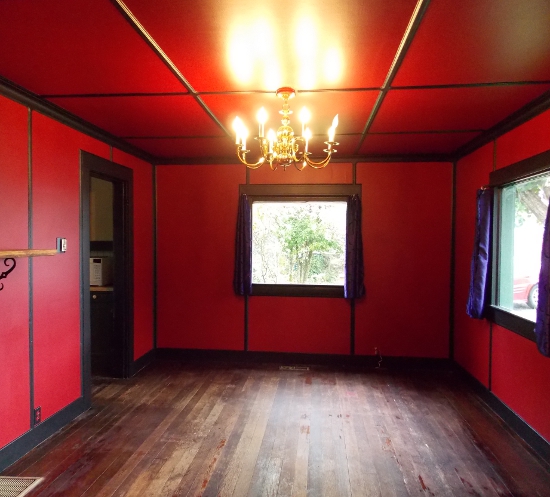
After a month of working on the room, we have completed the project, and while my color scheme would not be to everyone’s taste, it turned out exactly how I envisioned it and I am thrilled. Jai worked very hard not only to meticulously paint the trim, but also in coming up with a creative solution to the problem of taping off the crown molding to paint.
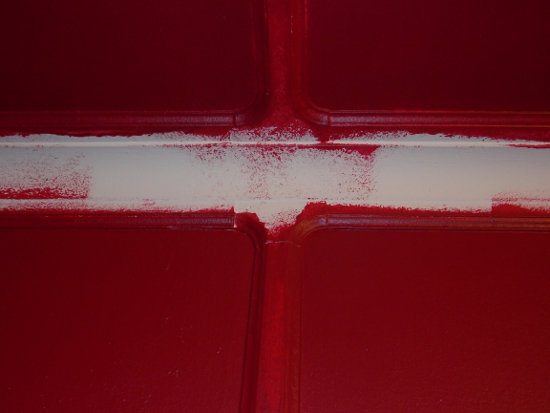
We knew this project would be fraught with challenges. For starters, none of the lines in this old house are truly straight; not to mention, the crown molding and trim has many, many curved angles and covers the entire ceiling and all four walls. Figuring out how to adequately tape the rounded portions of the crown molding was one of the biggest issues we encountered.
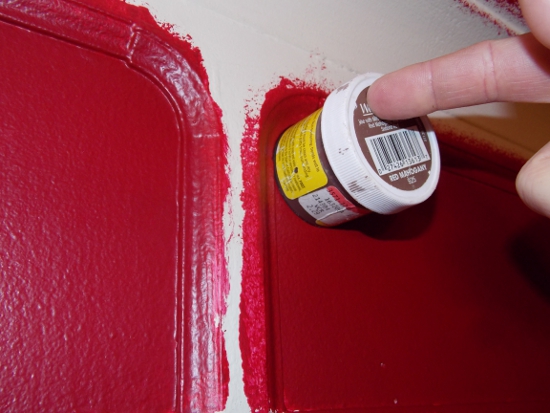
As with most DIY solutions to renovating an old home, the solution was rather unorthodox. After a fruitless search for any type of circular stickers or tape that would cover the wall at each point where the crown molding curved and joined together, we decided the only way to cover this area would be to cut our own circular sections of tape to fit. Jai found a small paint jar that was the exact right size to fit this area, and used this as the template with which to cut the tape.
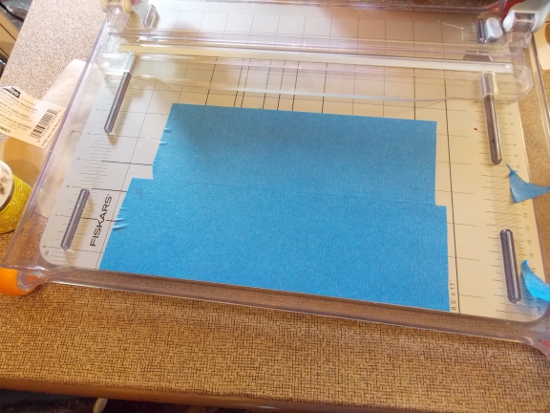
The first step was to lay a portion of Scotch-Blue Painter’s Tape Advanced Delicate Surface on the cutting board. Jai did this so that when he put down portions of tape to trace and cut, they wouldn’t lose their stickiness as quickly.
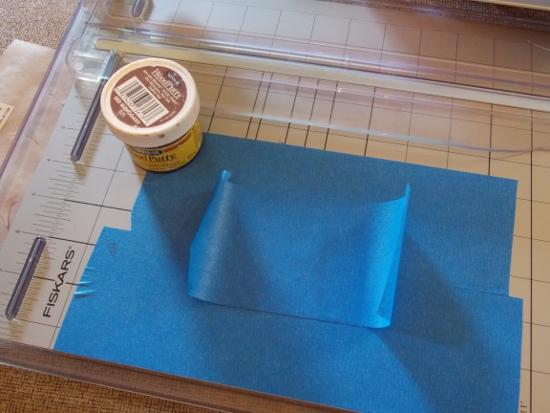
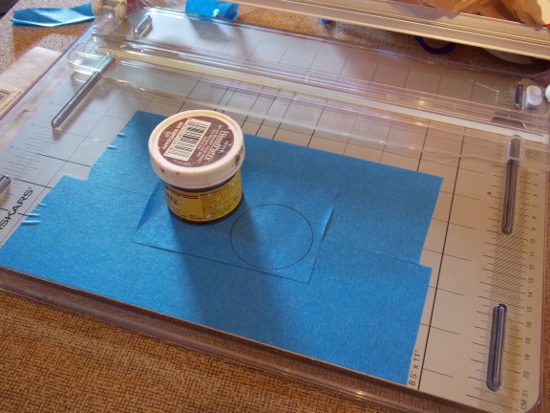
Using the paint pot as his guide, Jai carefully traced around the bottom to create a circle in the size we needed.
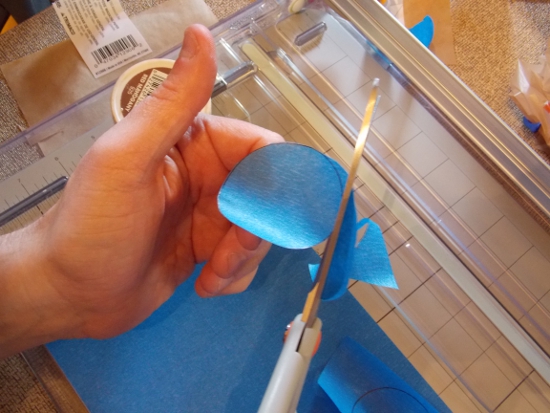
Once the circle was traced, he carefully cut out the circle with scissors. This isn’t a project for the paint of heart (Typo caused an unintentional pun so it stays!) – he cut over 40 of these circles in order to have enough to cover the room!
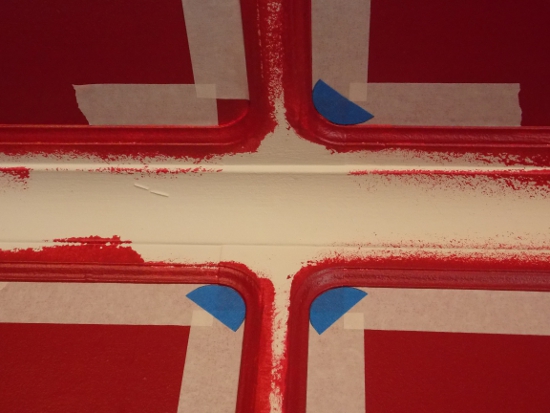
To tape off the room, we first laid down a strip of regular painter’s masking tape in strips. Then Jai would cut his carefully crafted circles in half, placing them directly over the sections where the regular tape met up. We had to be very careful with how we placed the tape in order to ensure that it right up against the crown molding. It’s recommended to use the Scotch-Blue tape for all the sections over the regular masking tape, but we had already spent $40 on all the tape we had bought and didn’t want to go out and buy even more. We tried using the regular masking tape to make the circular portions as well, but it just didn’t stick well enough – the Scotch-Blue is a lot weightier.
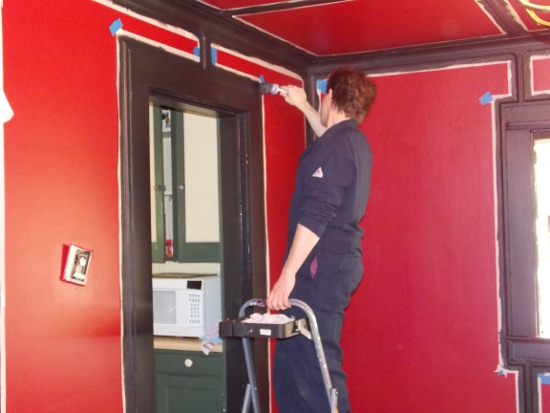
The actual painting process took time, not only because Jai was being careful with the paint to get the best possible result, but also because we were working overtime at our jobs during all of this and had to work on it during stolen moments in between everything else. We were concerned during the taping process, because the masking tape kept peeling off; and because it had to stay on the walls for about a week and a half, we worried that as soon as we peeled it off, all the red paint on the walls would come off as well. Fortunately, that did not happen!
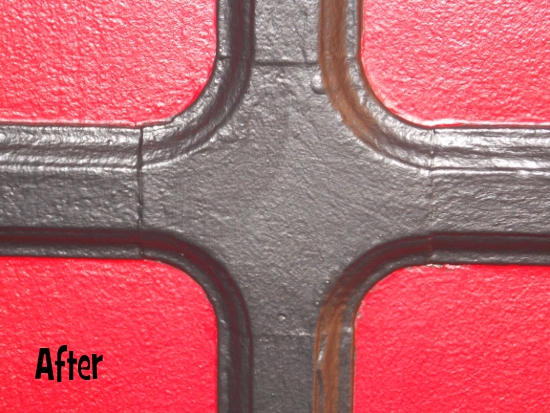
I give all credit for this project to Jai’s steady hand and attention to detail. The project was as time-consuming as we expected, but well worth it. If you have a complicated paint job coming up, I hope that sharing how we dealt with our particular crown molding and batten trim issue will give you some inspiration!

First I will say you have alot more patience than I do. Secondly you are rockin’ those colors. I am ubber jealous
This looks great!
That looks amazing!! I am a horrible painter lol so this may really come in handy!
That looks great! I don’t have a steady hand…I paint the walls, myhusband does all the trim!
It looks amazing! And you have got to be the most patient perseon ever! My husband paints as part of his job and when I showed him your post he just said wow and that you definitely have more patience than him lol Turned out amazing!
What an amazing transformation! I have a fairly new house, so no crown molding, which is a bummer because I love it! It looks really stunning!
that is helpful to know 🙂
Oh, you make it look so easy. It is gorgeous. I love the colors and painting. Looks really great. Thanks for sharing.